Protein-Packed Ninja Creami Delight: Smooth, Versatile, and Delicious
Ninja Creami protein ice cream has completely transformed dessert in our home. I’m Nicole, and as the mom behind Free Dish Recipes, I’m always experimenting with ways to turn everyday cravings into healthier, protein-packed wins. One night, after a workout and while craving something cold and sweet, I grabbed my Ninja Creami, mixed in some vanilla protein powder, and hoped for the best. What I got? The smoothest, richest protein ice cream I’d ever made—and it’s now a weekly staple in our freezer.
Table of Contents

When you’re juggling family life, work, and trying to squeeze in time for yourself, dessert often feels like a luxury you can’t afford—especially if you’re watching your macros. That’s exactly why I love the Ninja Creami protein ice cream. It’s indulgent without the guilt, made with whole milk, quality protein powder, and sweeteners you can control. Whether I use maple syrup for my girls or monk fruit for myself, everyone’s happy—and no one’s asking for store-bought tubs anymore.
We’ve experimented with many variations, and this base consistently delivers great results. The unflavored collagen adds a rich, creamy texture, while optional mix-ins like mini chocolate chips, peanut butter, or our favorite high protein taco bowl make it feel like a deluxe treat. You can keep it classic with vanilla or go wild—just like we do with our chicken crust pizza recipe, it’s all about making it your own.
If you’re tired of chalky protein shakes or bland post-workout snacks, this Ninja Creami protein ice cream is about to change the game. It’s cold, creamy, and full of good stuff—and yes, it actually tastes good.
Print
Ninja Creami Protein Ice Cream Recipe: Easy, & Quick To Make
- Total Time: 12 hrs (freezing) + 5 mins spin
- Yield: 2 servings 1x
Description
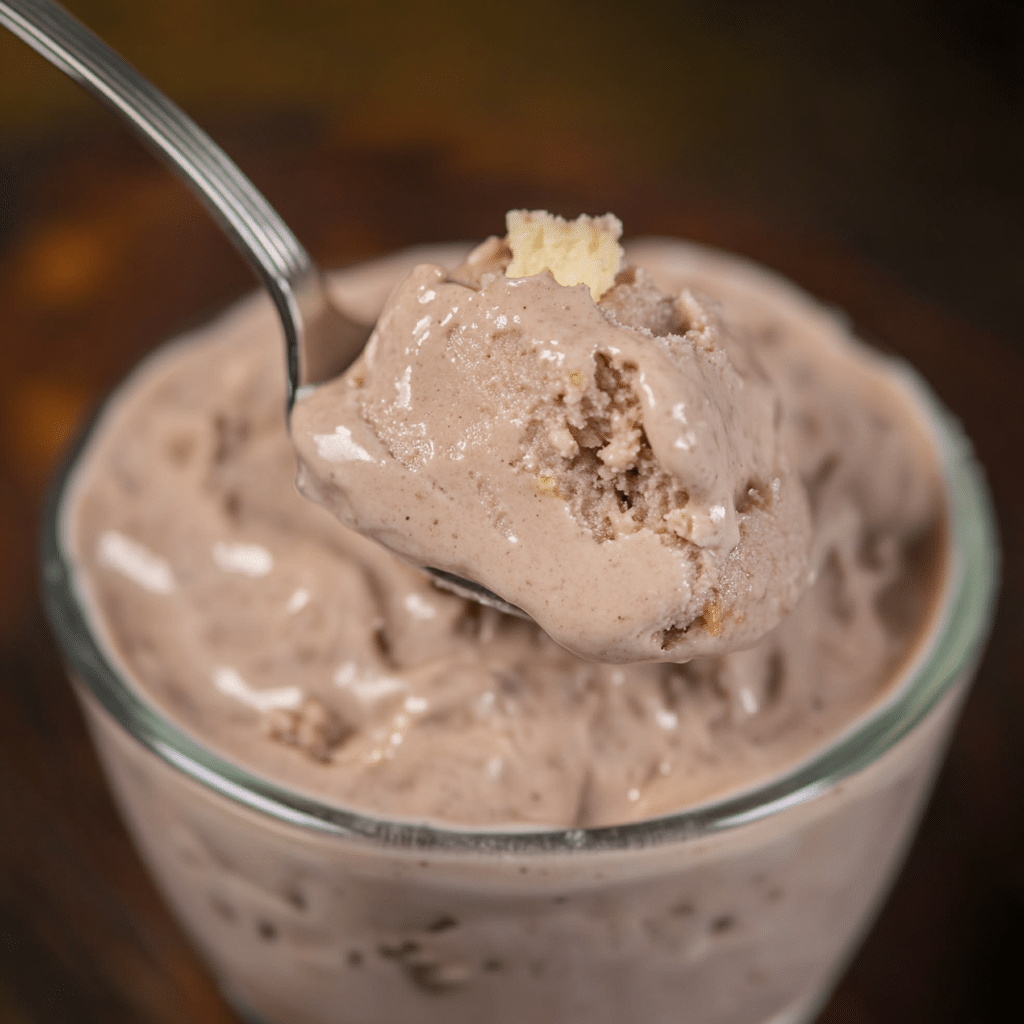
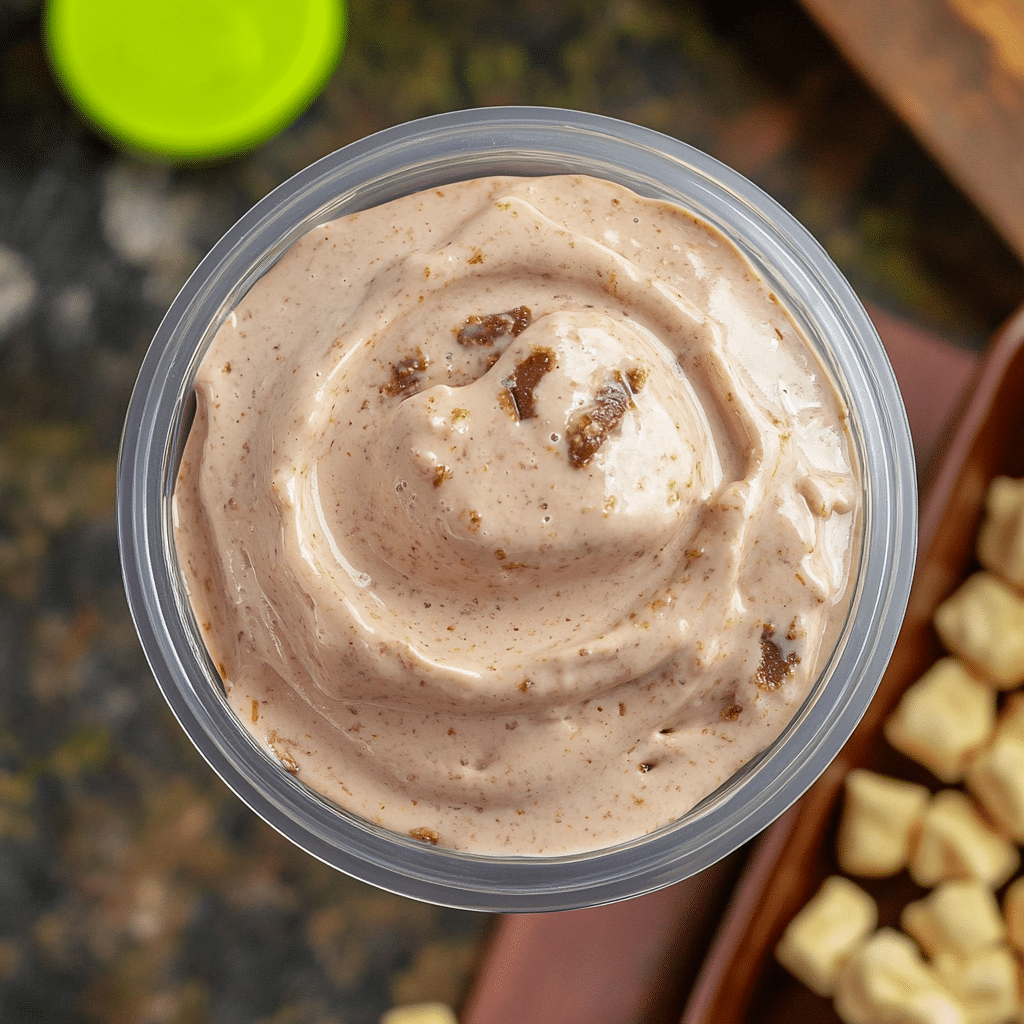
This Ninja Creami protein ice cream is creamy, smooth, and packed with over 30g of protein per serving. Made with milk, protein powder, collagen, and your favorite mix-ins—it’s the healthy dessert you’ve been craving.
Ingredients
2 cups whole milk
2 scoops vanilla protein powder
1 scoop unflavored collagen
2–3 tbsp maple syrup, honey, or monk fruit sweetener
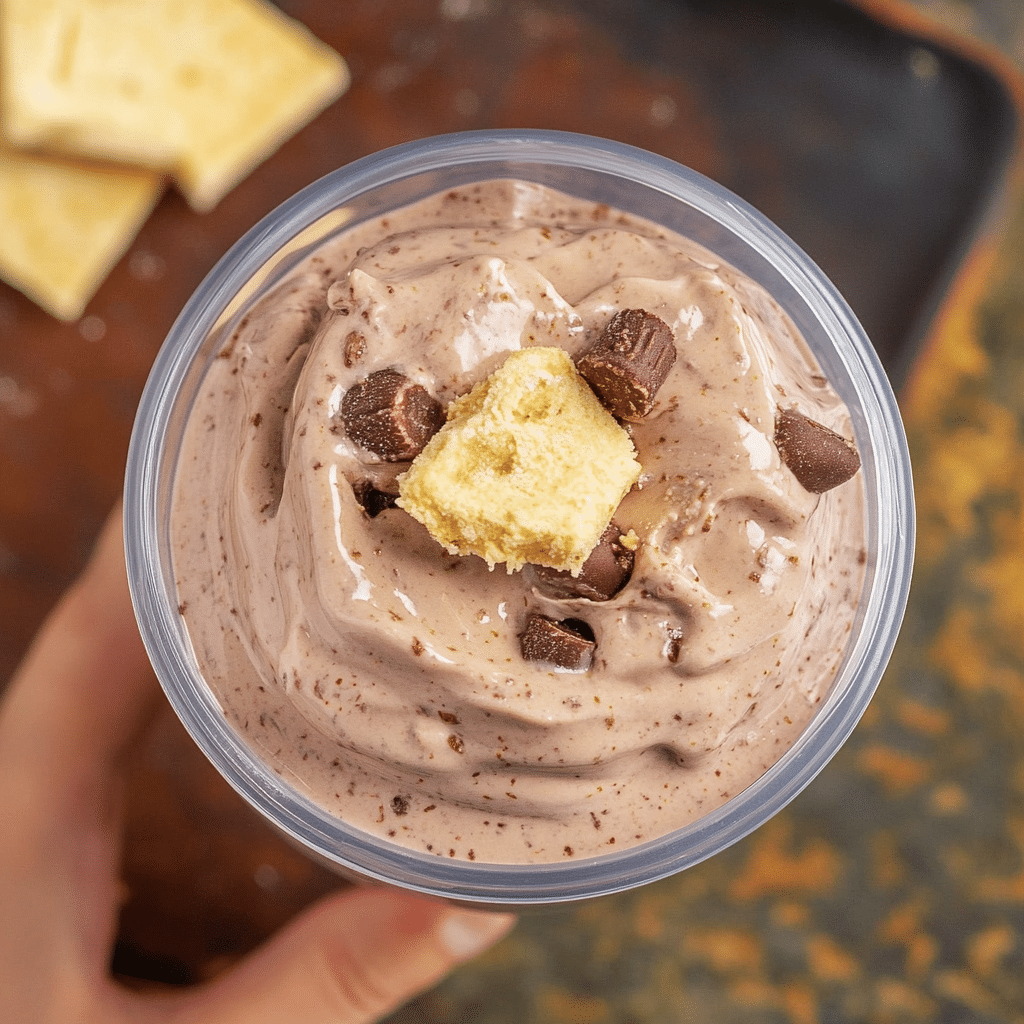
Mix-ins: 2–3 tbsp cookie dough, peanut butter, mini chocolate chips, or fruit
Instructions
1. Add all ingredients to a 24 oz Ninja Creami container and mix thoroughly.
2. Freeze uncovered for at least 12 hours, or overnight, until solid.
3. Let sit at room temp for 10 minutes before spinning.
4. Scrape any frozen bulge flat, run container under warm water for 30 seconds, and dry.
5. Spin using the “Lite Ice Cream” setting.
6. If crumbly, add 1–2 tbsp milk and use “Respin” up to 2 more times.
7. Make a hole in the center and add mix-ins like melted chocolate or cookie dough.
8. Run the “Mix-In” cycle.
9. Serve immediately.
Notes
Use Fairlife milk to increase protein while lowering sugar and carbs.
Store leftovers in freezer and respin before serving again.
Try flavor variations like chocolate banana or mint chip.
- Prep Time: 5 mins
- Cook Time: 0 mins
- Category: Dessert
- Method: Frozen
- Cuisine: American
Nutrition
- Serving Size: 1 cup
- Calories: 280
- Sugar: 4g
- Sodium: 180mg
- Fat: 10g
- Saturated Fat: 6g
- Unsaturated Fat: 3g
- Trans Fat: 0g
- Carbohydrates: 10g
- Fiber: 1g
- Protein: 32g
- Cholesterol: 40mg
Protein Ice Cream Ingredients & Health Benefits
Smart Ingredients for Creamy Results
The magic of ninja creami protein ice cream lies in the simplicity of its ingredients. You don’t need an ice cream maker, a dozen ingredients, or fancy emulsifiers. Just five core components, a quick stir, and a little patience while it freezes.
Here’s what goes into the base:
- Whole milk: Adds creaminess and fat for a rich texture. You can sub in Fairlife 2% or regular 2% milk for lower fat, but the creaminess may decrease slightly.
- Vanilla protein powder: Two scoops give you a major protein punch (about 40–50g total depending on your brand).
- Unflavored collagen: This not only boosts the protein content but also improves the texture—making it smooth and scoopable.
- Sweetener (optional): Use maple syrup, honey, or monk fruit based on your dietary needs. Even unsweetened, this dessert works.
- Mix-ins: Add in mini chocolate chips, peanut butter, or fresh banana to match your cravings. You’ll love how this plays with flavors, just like in our sweet potato puffs.
Each ingredient in this ninja creami protein ice cream recipe is selected with purpose—to give you creamy texture, high protein, and minimal effort. It’s like the dessert version of our high protein taco bowl: every component works hard behind the scenes.
Health Benefits You Can Taste
This ninja creami protein ice cream isn’t just a dessert—it’s a smart, functional treat. Whether you’re tracking macros or simply want something more nutritious post-workout, it delivers. The protein and collagen help with muscle recovery and satiety. And with sweetener options, you’re in control of the carbs and sugar.
Let’s break it down:
| Ingredient | Protein (g) | Function |
|---|---|---|
| Whole milk (2 cups) | 16g | Creaminess & base |
| Protein powder (2 scoops) | 40–50g | Protein boost & flavor |
| Collagen (1 scoop) | 10g | Texture & joint support |
With over 60g of protein in just one batch, this ninja creami protein ice cream is your answer to post-workout cravings, late-night snacking, and guilt-free indulgence.
This isn’t your average bowl of ice cream—it’s indulgence with purpose, just like we aim for in our sweet potato taco bowl or sweet potato puffs. You get full control over sweetness, texture, and macros.

How to Make Ninja Creami Protein Ice Cream (Step-by-Step + Pro Tips)
Step-by-Step Instructions for Creamy Perfection
Making Ninja Creami protein ice cream is surprisingly easy, but there are a few tips and tricks that take it from good to unbelievably smooth and scoopable. Whether you’re using the Ninja Creami Deluxe (NC501) or the original 7-in-1 (NC301), this guide helps you get that perfect creamy texture every single time.
Here’s how to do it:
- Mix the Base:
Add all your base ingredients—milk, vanilla protein powder, unflavored collagen, and sweetener—into the Ninja Creami container. Mix it well using a whisk, milk frother, or blender bottle. The smoother your mix now, the better your texture later. - Freeze it Flat:
Place the container in the freezer for at least 12 hours (preferably overnight). Don’t cover it—leaving it uncovered helps avoid a big bulge that makes spinning harder. Aim for a flat top, just like when prepping toppings for our crispy parmesan zucchini potato muffins. - Prep for Creami Cycle:
When ready, let the container sit at room temp for 10 minutes. If there’s a bulge, scrape it flat with a spoon. Then run the container under warm water for 30–60 seconds. Dry completely before inserting it into the machine. - Spin It Right:
Select the “Lite Ice Cream” function on the Ninja Creami Deluxe. Once spun, check the texture. If it looks crumbly (especially when using lower-fat milk), add 1–2 tablespoons more milk and hit “Respin.” You may need to do this twice for ultra-creamy results. - Add Mix-Ins:
Create a small well in the middle of the frozen base using a spoon, then add your favorite mix-ins like protein cookie dough, creamy peanut butter, or a drizzle of melted chocolate chips. Run the “Mix-In” cycle and watch your flavor combos come to life. - Serve Immediately:
Enjoy right away or freeze leftovers in the same container. Re-spin before serving again.
Pro Tips for Best Texture
- Always mix your base until completely smooth. Gritty protein powder? Use a blender.
- Using Fairlife milk adds even more protein with fewer carbs—great if you’re macro-tracking like we do with our air fryer red potatoes).
- Want soft-serve texture? Let it thaw just a few more minutes before spinning.
- Mix-ins like melted chocolate or cookie dough elevate the flavor and texture—almost like protein-packed ground chicken pizza crust in dessert form.
This is your dessert, your way—and once you’ve tried it, you’ll never go back to store-bought.

Conclusion: The Ninja Creami Protein Ice Cream You’ll Crave Nightly
If you’re looking for a way to enjoy dessert that supports your goals and satisfies your cravings, this ninja creami protein ice cream is your answer. It’s smooth, customizable, and packed with over 30g of protein per serving when using quality ingredients. Whether you’re winding down after a long day, fueling up post-workout, or just in the mood for something sweet, this recipe hits every note.
You don’t need to sacrifice flavor for fitness. With the Ninja Creami, you control every ingredient—from the milk and protein powder to the mix-ins and sweeteners. It’s one of the easiest, most delicious ways to stay on track while still enjoying a creamy treat. And just like our high protein taco bowl or sweet potato puffs, this recipe turns wholesome ingredients into a dish the whole family will love.
Once you’ve spun your first pint, you’ll see why we always keep a Creami container in the freezer. With just a few tweaks, you can switch up the flavors all week long—and trust me, no one’s going to ask for store-bought ice cream again.
For more recipes, follow me on my Facebook page
FAQS
Can you put protein powder in the Ninja Creami?
Absolutely. In fact, this ninja creami protein ice cream recipe is built around it. Protein powder blends beautifully with milk and collagen to create a creamy, satisfying texture. For best results, use a high-quality whey or plant-based vanilla protein. Just make sure it’s well mixed before freezing to avoid clumping.
What setting on Ninja Creami for protein ice cream?
Use the “Lite Ice Cream” setting on the Ninja Creami Deluxe (NC501). It’s designed to work with lower-fat, higher-protein blends like this one. If your ninja creami protein ice cream turns out a little crumbly at first, don’t worry—just add 1–2 tablespoons of milk and run the “Respin” cycle. You may need to do this twice for the perfect scoopable texture.
Does Ninja Creami protein ice cream actually taste good?
Yes—shockingly good. When done right, it’s creamy, rich, and as indulgent as traditional ice cream. The key is using the right ratio of milk, protein powder, and collagen. Many people compare the texture to soft-serve or store-bought ice cream, especially when you toss in a few melted chocolate chips or a swirl of peanut butter. Think of it as the dessert version of our ground chicken pizza crust—healthy but comforting.
What are the downsides of the Ninja Creami?
The only real drawbacks are the learning curve and prep time. You need to freeze your mixture at least 12 hours ahead, and the texture may need a couple of spins to get just right. But once you’ve made your first ninja creami protein ice cream, you’ll see why it’s worth the wait.
Flavor Variations to Try
Chocolate Banana: Add cocoa powder and half a banana to the base before freezing.
Peanut Butter Swirl: Add PB2 or natural peanut butter as a mix-in after spinning.
Berry Vanilla: Blend in fresh or frozen berries for a fruity twist.
Mint Chocolate Chip: Use peppermint extract in the base and mini chips as mix-in.
Just like we do with our sweet potato taco bowl or chicken and rice casserole, variety is key to keeping things exciting.
Why This Recipe Is Worth It
The ninja creami protein ice cream gives you total control over ingredients, sweetness, macros, and mix-ins. It’s indulgent yet functional, perfect for families, fitness-focused eaters, or anyone looking to enjoy dessert on their terms.
